Step
1: Generate or Obtain the Web Service
WSDL
To generate the WSDL file for your organization:
a. Log in to your Enterprise,
Unlimited, or Developer Edition Salesforce account. You must log in as an administrator or as a user who has the “Modify All Data” permission.
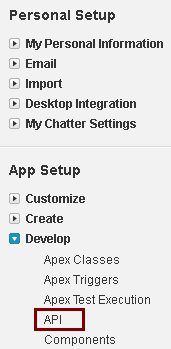
b. Click Your Name > Setup > Develop > API to display the WSDL download page.
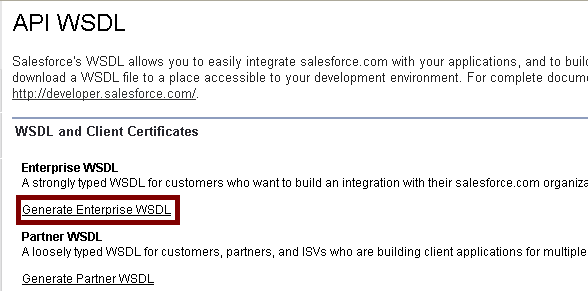
c. Click Generate Enterprise WSDL.
d. Salesforce prompts you to select the version of each installed package to include in the generated WSDL.
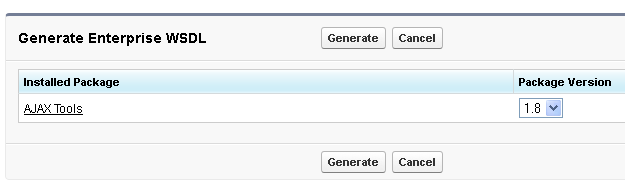
e. Click Generate.
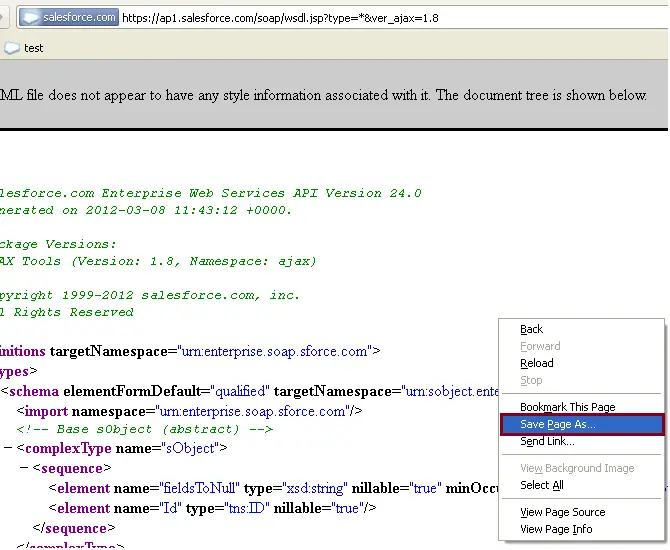
f. In the right-click menu, Internet Explorer users can choose Save Target As, while Mozilla Firefox users can choose Save Link As.
Step 2: Download wsc.jar
Download wsc.jar from http://code.google.com/p/sfdc-wsc/downloads/list
Step 3: Move all the required files into bin folder
Move wsc.jar and enterprise.wsdl.xml into C:Program FilesJavajdk1.6.0_12bin.
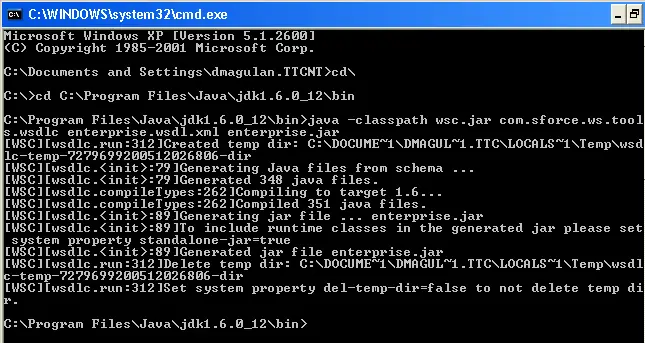
Step 4: Generate enterprise.jarSyntax:
java –classpath pathToJAR/wsc-20.jar com.sforce.ws.tools.wsdlc pathToWsdl/WsdlFilename pathToJar/JarFilename Sample:
Java –classpath wsc.jar com.sforce.ws.tools.wsdlc enterprise.wsdl.xml enterprise.jarThis command will generate enterprise.jar in the same directory C:Program FilesJavajdk1.6.0_12bin. After these files are compiled, they can be included in your Java programs for use in creating client applications.
Below is the successful execution of the command.
Note: Never copy the sample syntax and paste it in your Command Prompt.
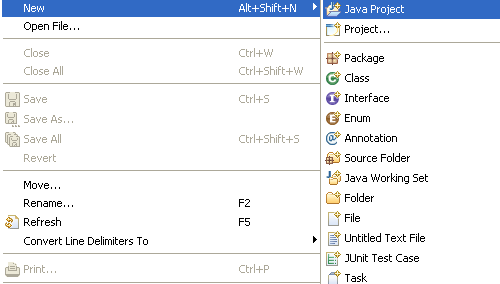
Step 5: Create a Project in Eclipse
1. Create a Project ‘API’ using Eclipse
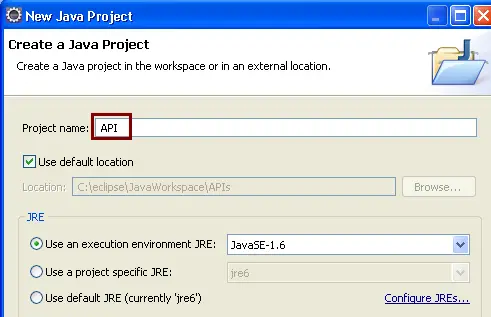
2. Click Finish.
3. Right click the API Project and create new
Package wsc.
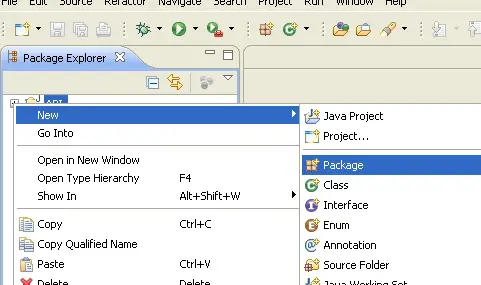
4. Click Finish.
6. Add all the required Jars (wsc.jar,enterprise.jar)
7. To add the Jars, Right Click Project API, Select Build Path and then select Configure Build Path.
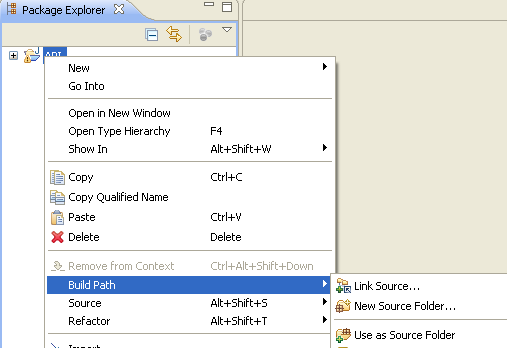
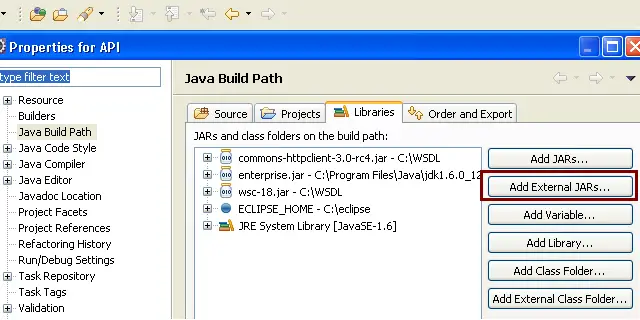
Browse and select the jars to include.
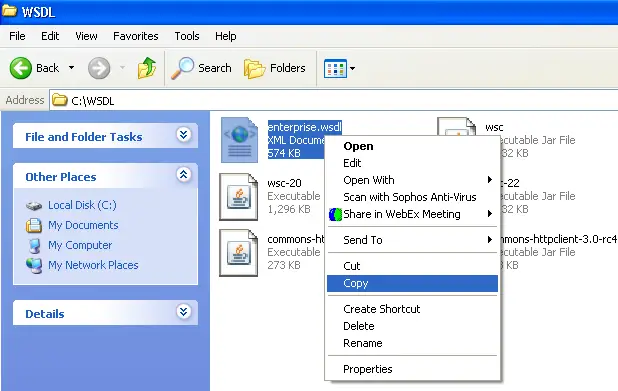
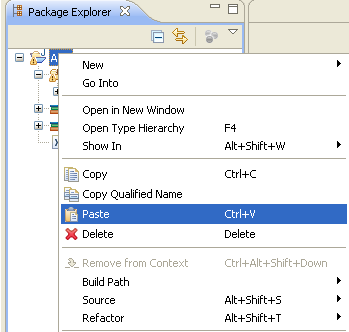
8. Add enterprise.wsdl.xml file.
To add enterprise.wsdl.xml file, copy the enterprise.wsdl.xml file and Right click API Project and Paste it.
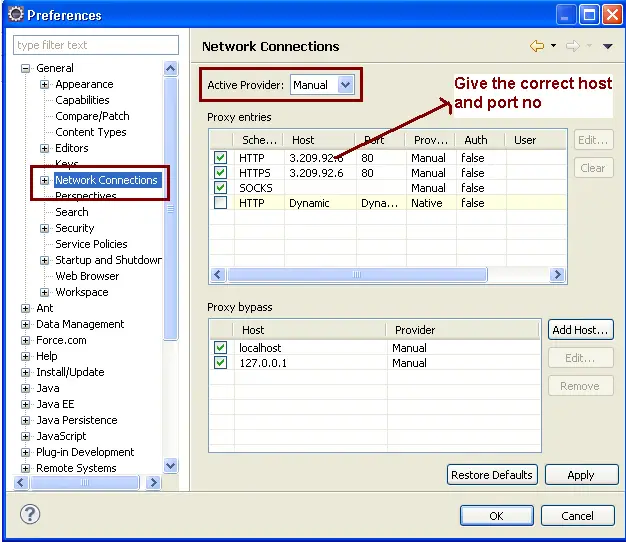
9. Check proxy settings in Eclipse
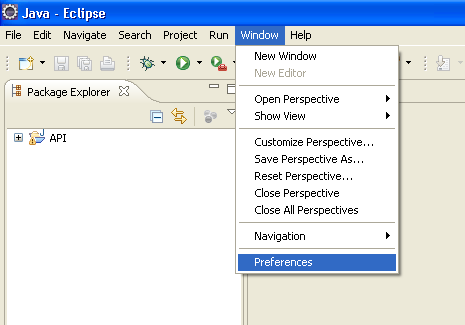
Proxy Settings(Optional):
Sample programs for practise:
http://www.infallibletechie.com/2012/03/inserting-data-into-salesforce-using.html
http://www.infallibletechie.com/2012/03/inserting-data-into-salesforce.html
http://www.infallibletechie.com/2012/03/updating-data-into-salesforce-using-web.html
http://www.infallibletechie.com/2012/03/upserting-data-into-salesforce-using.html
http://www.infallibletechie.com/2012/03/emptying-recycle-bin-in-salesforce.html