Step 1: Enable Customer PortalTo enable Customer Portal, follow the below steps
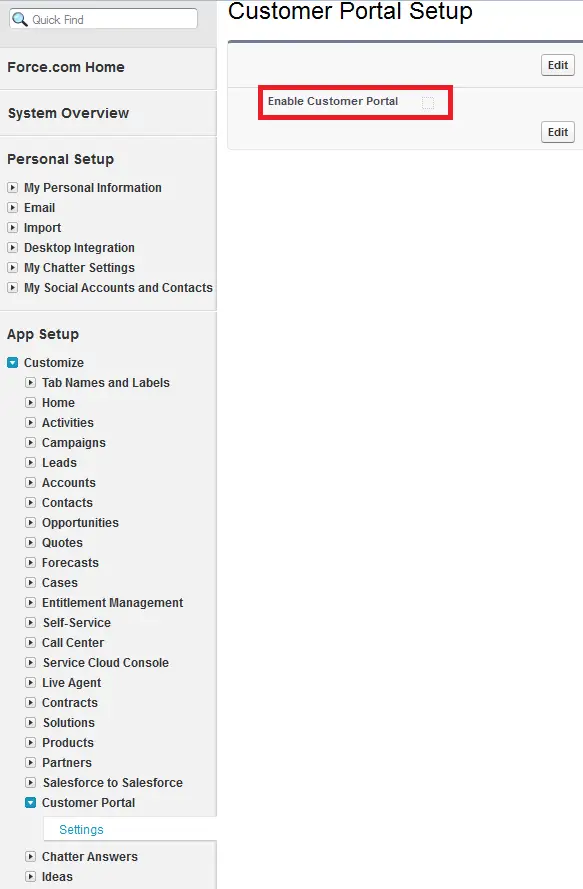
1. Click Your Name > Setup > Customize > Customer Portal > Settings.
2. Click Edit.
3. Select Enable Customer Portal.
4. Click Save.
5. Continue setting up the portal.
Step 2: Click “New” button.
You must have the “Customize Application” permission to set up and modify the Customer Portal.
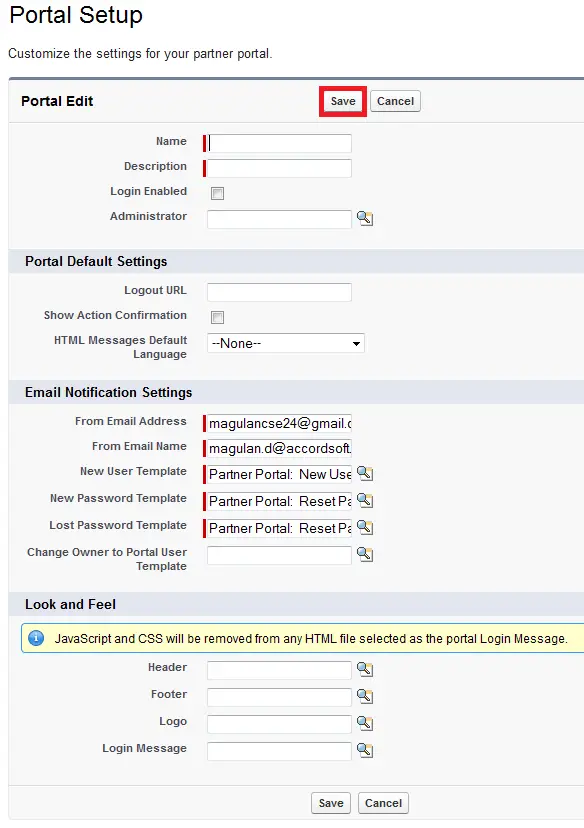
Step 3: Enter the details and click “Save” button
Step 4:
When you enable a Customer Portal, the following profiles are automatically created if you purchased user licenses for them:
• High Volume Customer Portal
• Authenticated Website
• Customer Portal User
• Customer Portal Manager
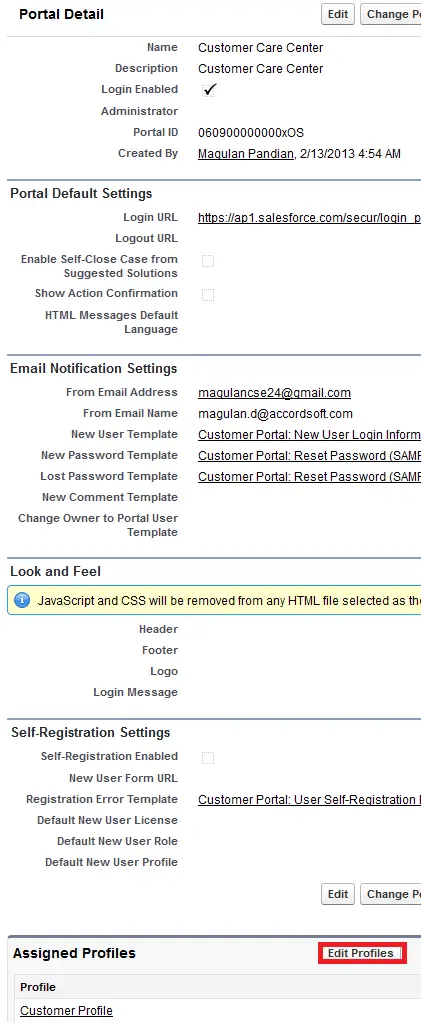
Create a profile and then assign it to the customer portal.
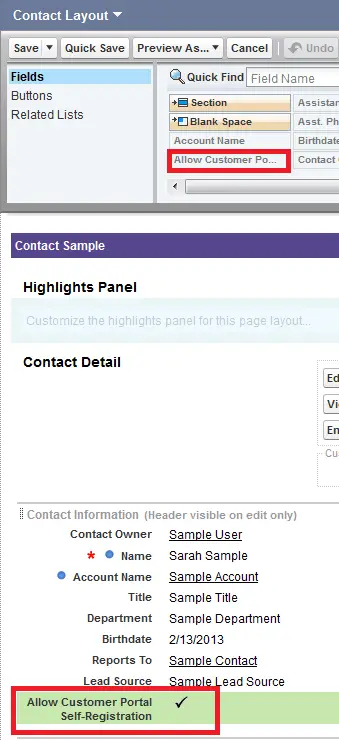
Step 5: Edit the Contact page layout and add “Allow Customer Portal Self-Registration” to it.
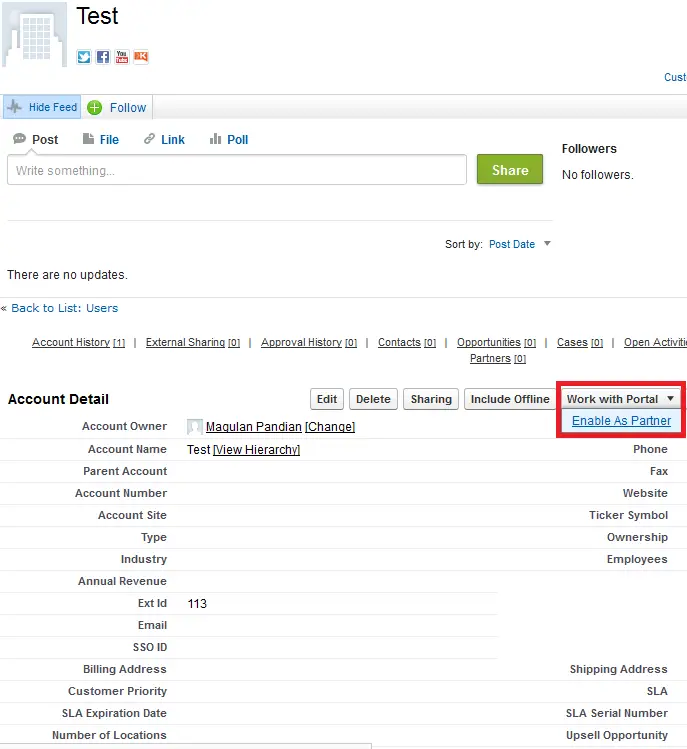
Step 6: Create an Account and click “Enable Partner” under “Work with Partner” button.
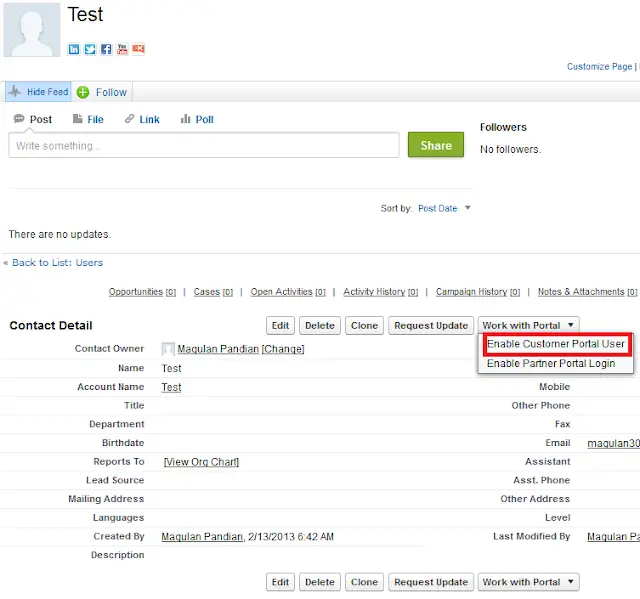
Step 7: Create a contact under the account and click “Enable as Customer portal User” under “Work with Portal” button.
Step 8: Fill in the details and click “Save” button.
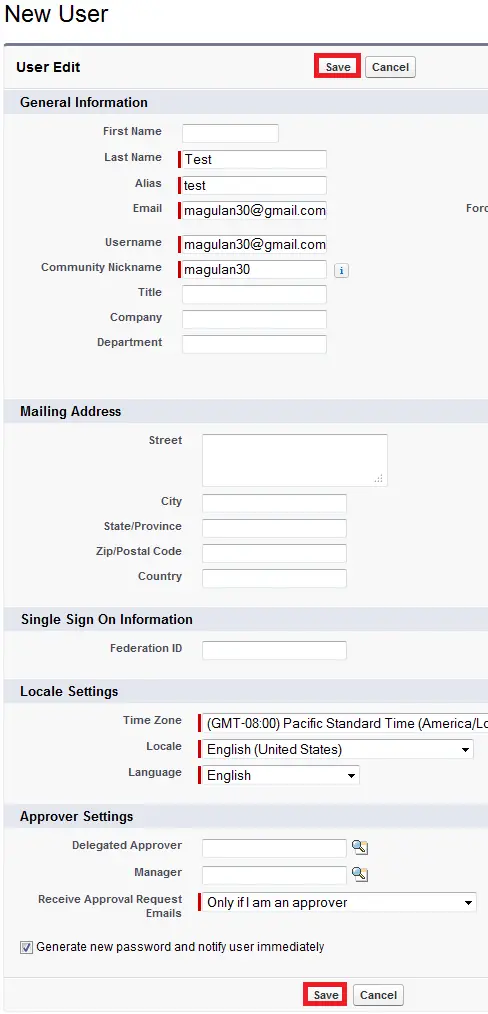
Step 9: Check your email for username and password.

Step 10: Get the URL from the Portal Default Settings in the Customer portal.
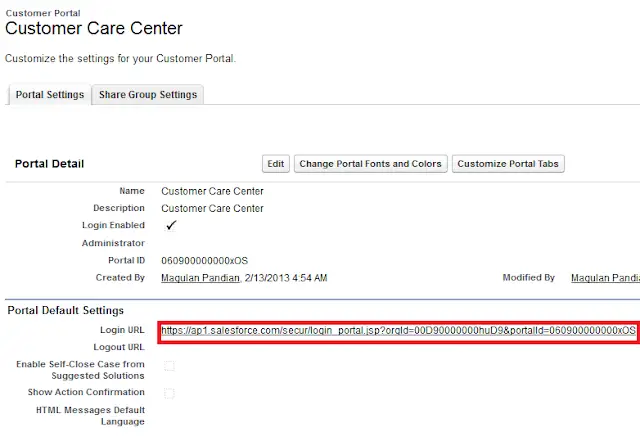
Step 11: Open the URL, enter the username and password and click “Login” button.
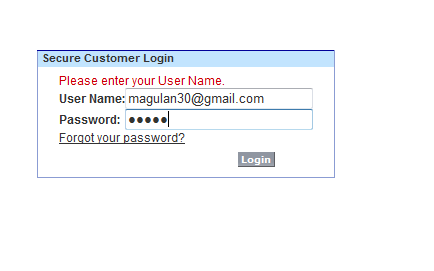
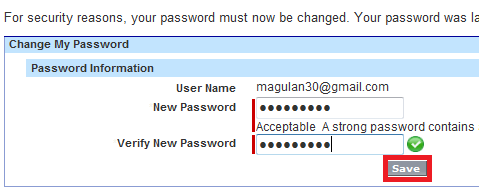
Step 12: It will ask you to create new password. So, enter the new password and click “Save” button.
