Before you install the Force.com Migration Tool you will need Java and Ant installed on your local machine. Then you can download the Force.com Migration Tool from a Salesforce organization.
To install and configure Ant
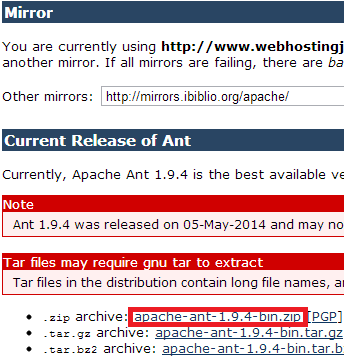
1. Download Apache Ant version 1.6 or newer to a directory of your choice: http://ant.apache.org/bindownload.cgi. This directory will be known as ANT_HOME. Once the files are on your computer, there is no further installation required.
2. Add the bin directory to your path. (Only the bin and lib directories are required to run Ant.)
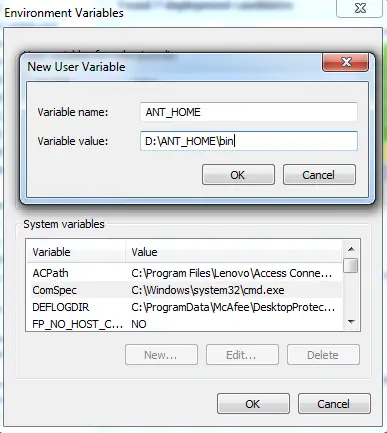
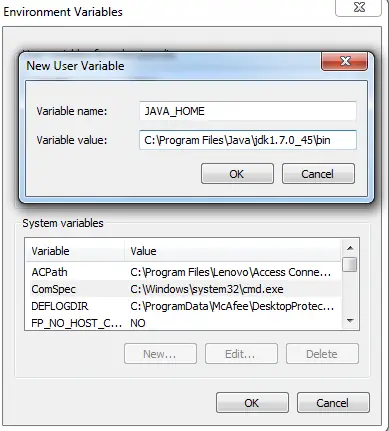
3. If you are using a Windows operation system, create an ANT_HOME environment variable and set the value to where you have installed Ant. Also create a JAVA_HOME environment variable and set the value to the location of your JDK.
For additional information, see http://ant.apache.org/manual/install.html.
Java
To see if you have Java installed:
1. Open a command prompt.
2. At the prompt, type java -version and press Enter.
The Force.com Migration Tool works with Java version 1.6.x or later. If you have an earlier version, you’ll need to install Java 1.6.x or later.
To install Java, go to http://www.oracle.com/technetwork/java/javase/downloads/index.html and get the latest version of the Java JDK. When you’re finished with the installation, verify by typing java -version at a command prompt.
Ant
To see if you have Ant installed:
1. Open a command prompt.
2. At the prompt, type ant -version and press Enter.
Installing the Force.com Migration Tool
1. Log into a Salesforce organization.
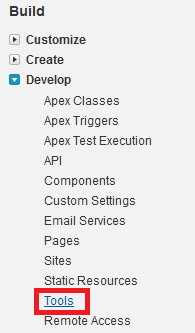
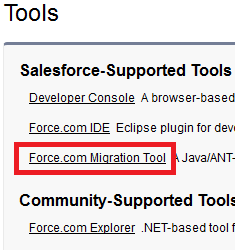
2. From Setup, click Develop–> Tools and select Force.com Migration Tool.
3. Save the .zip file locally and extract the contents to the directory of your choice.
4. Copy ant-salesforce.jar and paste into your Ant installation’s lib directory. The lib directory is located in the root folder of your Ant installation.
Entering Salesforce Connection Information
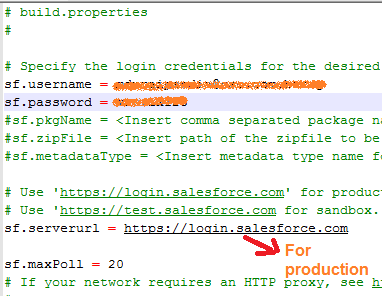
In order to retrieve or deploy metadata components, you need to edit build.properties to point to a Salesforce organization:
1. Go to the location where you extracted the Force.com Migration Tool files and open the sample subdirectory.
2. Open build.properties in a text editor and substitute a valid Salesforce username and password. If you are using a security token, paste the 25-digit token value to the end of your password.
Constructing a Project Manifest
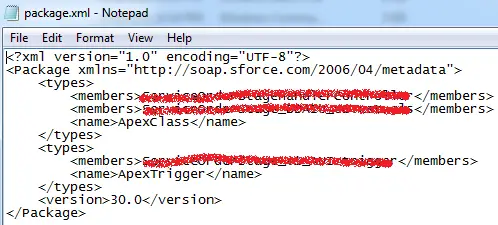
The package.xml file is a project manifest that lists all the components you want to retrieve or deploy in a single request. You can retrieve or deploy only a single package at a time.
Create package.xml file with the components to be retrieved or deployed.
You can find the sample in “D:samplecodepkg”, the location where you unzipped Force.com Migration tool zip.
Sample package.xml:
Retrieving from Organization:
1. Create a folder “Target” inside the Ant’s bin folder.
2. Create build.xml file and place it in Ant’s bin folder.
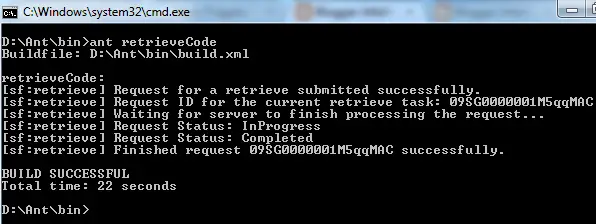
3. In Command promp, type ant retrieveCode to retrieve the classes and trigger mentioned in package.xml.
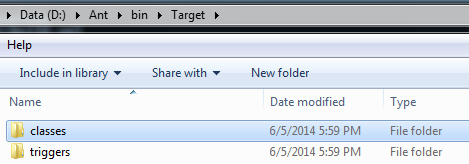
4. Check the target folder, whether it is retieved.
1. Have the classes, pages, etc to be deployed in a folder insider Ant’s bin folder.
2. Make sure that Package.xml is made ready for the components in “Target” folder. Create a build.xml file similar to the below in Ant’s bin folder.
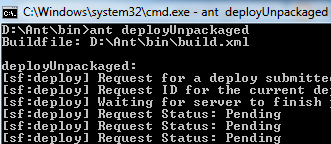
3. In Command prompt, type ant deployUnpackaged to deploy the components mentioned in “Target” folder.
Setting Proxy in Ant(Optional):
Setting Proxy in Ant is optional. If you are working in a Proxy network, then we have to make use of below steps.
Step1. Code to be added in build.properties:
proxy.host = Proxy_Host
proxy.port = Port_Number
proxy.user = Username
proxy.pwd = Password
Step2. Code to be added in build.xml:
<target name=”proxy”>
<property name=”proxy.host” value=”${proxy.host}” />
<property name=”proxy.port” value=”${proxy.port}”/>
<property name=”proxy.user” value=”${proxy.user}”/>
<property name=”proxy.pwd” value=”${proxy.pwd}”/>
<setproxy proxyhost=”${proxy.host}” proxyport=”${proxy.port}” proxyuser=”${proxy.user}” proxypassword=”${proxy.pwd}” />
</target>
Note:
If you receive Tools.jar not found error, go to “D:/Ant/manual/api/org/apache/tools/ant/util/JavaEnvUtils.html” and replace “java.home” with “java_home”.
