To login into Salesforce using Facebook credentials, use the below steps
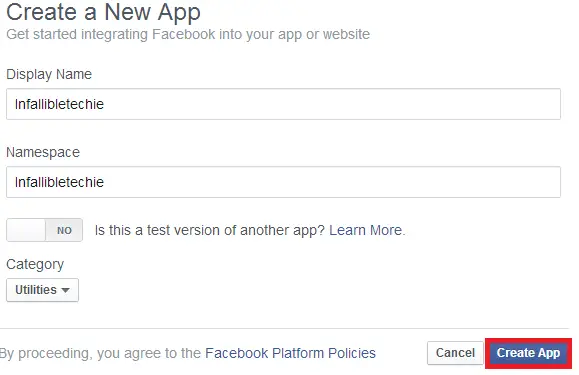
1. Go to “https://developers.facebook.com/“. Click “Create a New App”.

2. Enter Name, Namespace, select category and click “Create App” button.
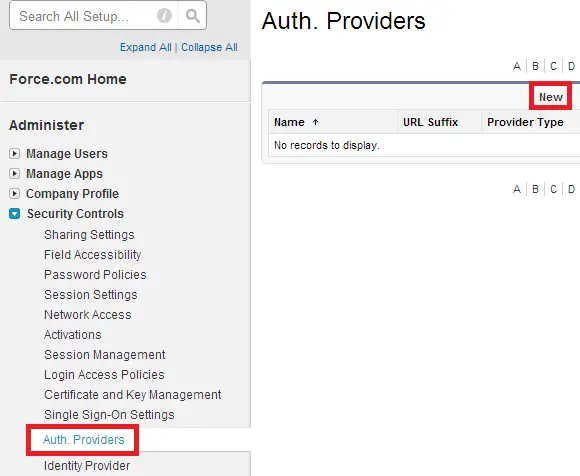
3. In your Salesforce account, go to Setup –> Administer –> Security Controls –> Auth. Providers and click “New” button.
5. Enter the details correctly as mentioned below and click “Save” button.
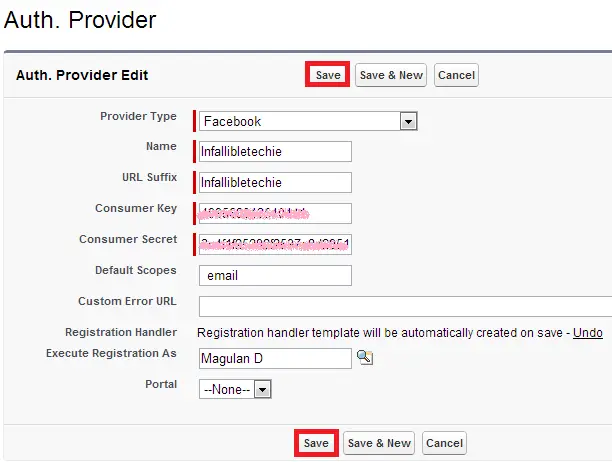
In order to get the consumer key and consumer secret, go to your facebook app and copy it from there.

6. An apex class would have been created. Go to Setup –> Build –> Develop –> Apex Classes and edit the class as mentioned below.
global class AutocreatedRegHandler1406129749186 implements Auth.RegistrationHandler{

    global User createUser(Id portalId, Auth.UserData data) {

        User u = [SELECT Id FROM User WHERE Email =: data.email];

        return u;

    }

    global void updateUser(Id userId, Id portalId, Auth.UserData data) {

    }

}
here you can make use of data.FirstName, data.LastName, data.FullName also.
7. Go to your facebook app and click “Settings”. Click “Add platform”.
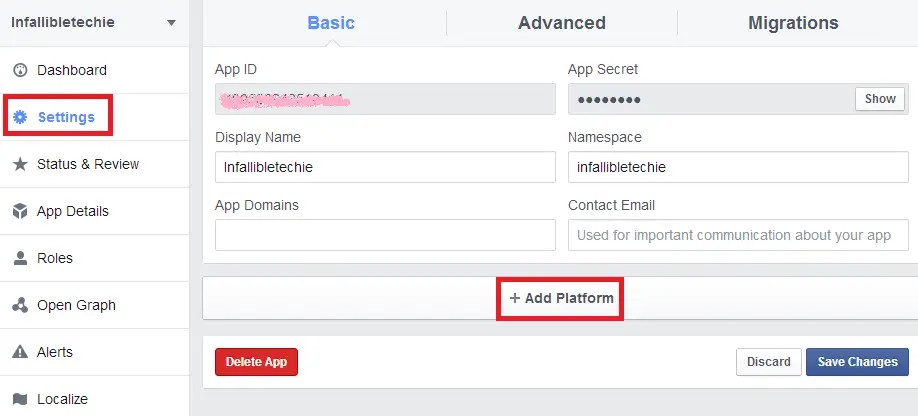
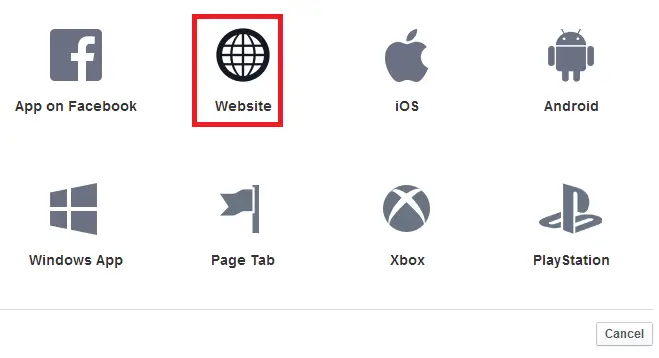
8. Select “Website”.
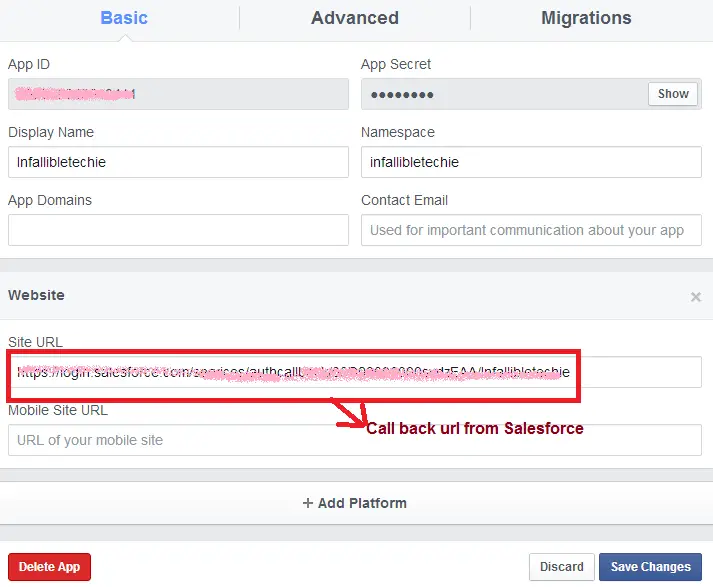
9. Copy the Callback url from Auth. Provider and paste it in Site URL and click “Save Changes”.
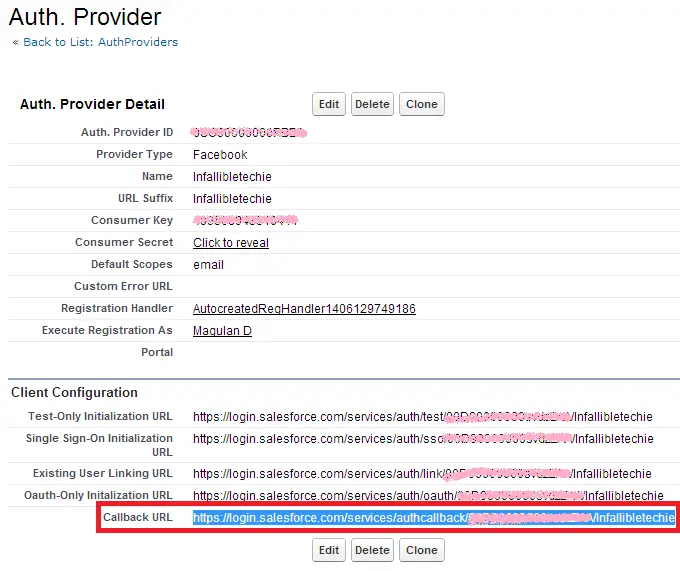
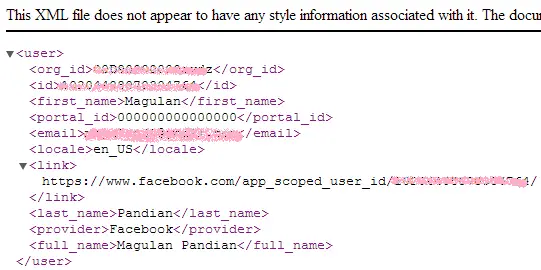
10. Copy the Test-only Initialization url from Auth. Provider and open it in the browser.
11. Copy the Single Sign-On Initialization URL and provide it to your users to use Facebook credentials for login into Salesforce.com.
Note: Sometimes, it will get some time to get synchronized. If you get any error in the URL, kindly try after sometime.