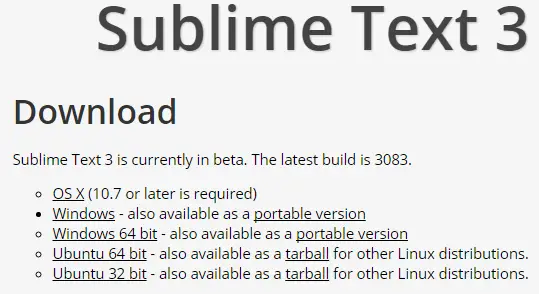
2. Select your OS.
3. Go to the downloaded file folder location.
4. Execute it and install it.
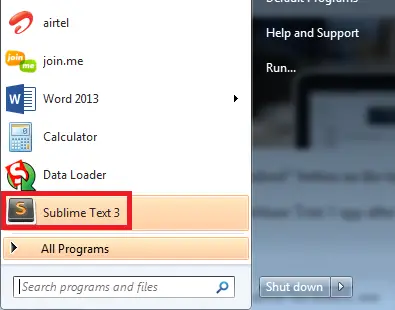
5. Open the Sublime Text 3 app after installation.
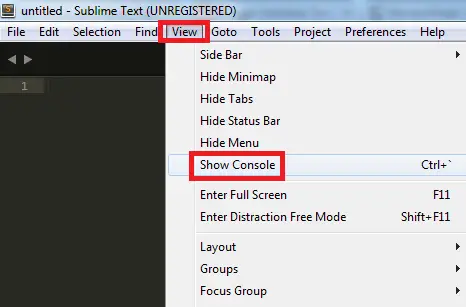
6. Go to View –> Show Console.
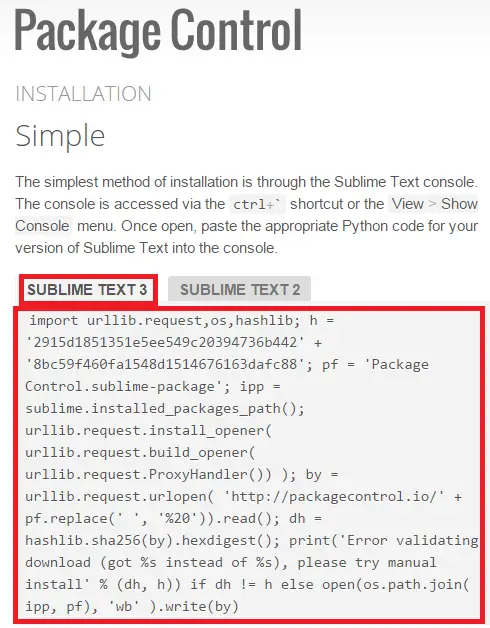
7. Go to “https://packagecontrol.io/installation“.
8. Copy the code from there.
9. Paste it in the Sublime Text console and press Enter button..
10. Close and open the Sublime Text 3 again.
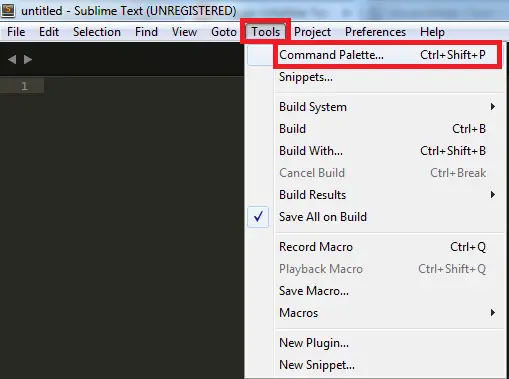
11. Go to Command Palette.
12. Search “Package Control: Install Package”.
13. Search and select “MavensMate”.
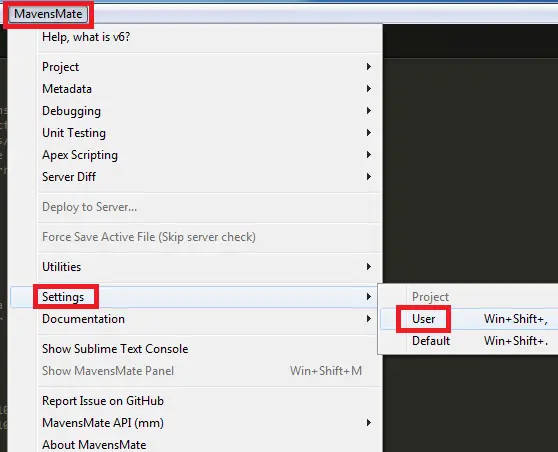
14. Go to MavensMate –> Settings –> User.
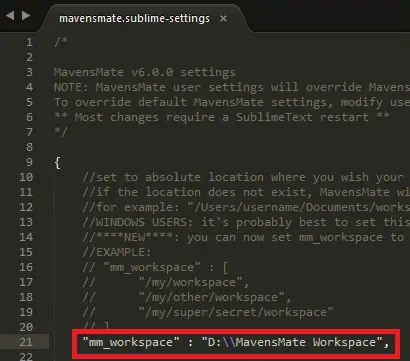
15. Set mm_workspace variable.
I have set as D:\MavensMate Workspace, since I created a folder “MavensMate Workspace” in D drive. This is the location where our local source code resides.
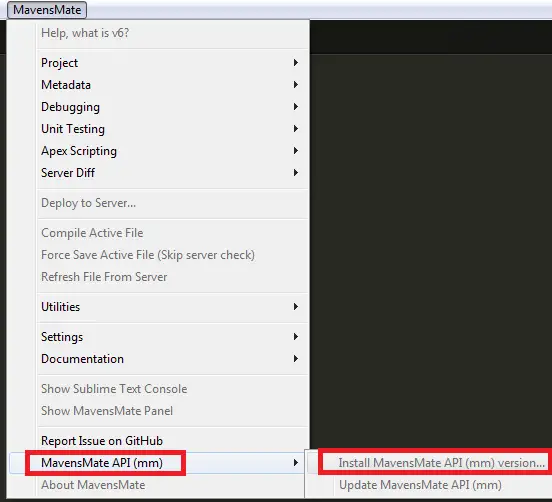
16. Go to MavensMate –> MavensMate API(mm) –> Install MavensMate API(mm) version.
Note:
Click Install MavensMate API(mm) version even if it is disabled.
17. Restart Sublime Text.
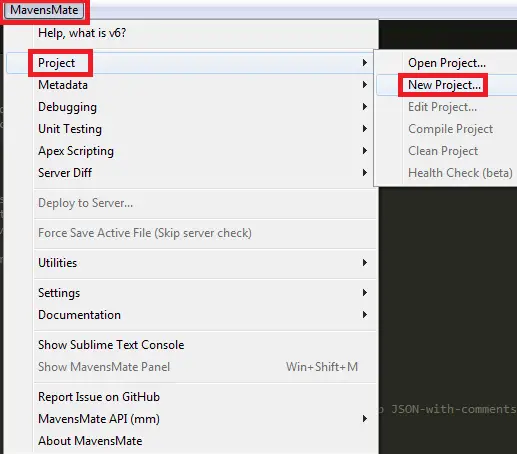
18. Create a new project by navigating to MavensMate –> New Project.
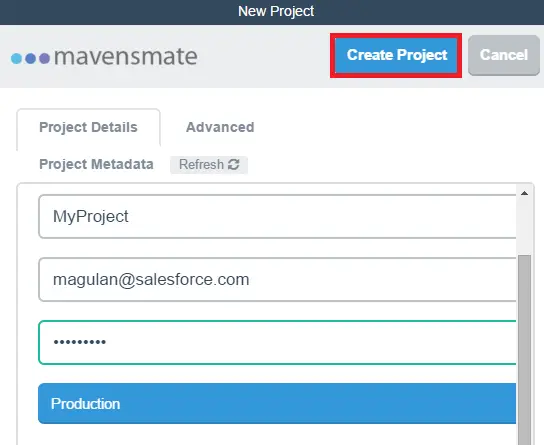
19. Enter your credentials and click “Create Project”.
Cheers!!!
