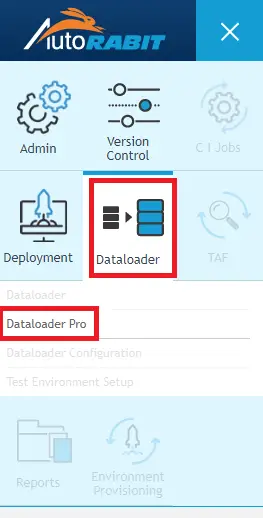
2. Click Create New Job.
3. Select Source Org, Destination Org and click Login and fetch objects button.
4. From the Object list displayed, select the required Master Object.
5. In Job Group, create a category in which the process will be saved.
6. Masking Wizard
This section deals with Data Masking. Data masking refers to the process of changing certain data elements within a data store so that the structure remains similar while the information itself is changed to protect sensitive information. It ensures that sensitive customer information is unavailable beyond the permitted production environment.
1. Click on New Mask Rule.
2. On the next screen, select the object from the drop-down field.
3. Next, choose the required field from Field Type field. Based on the Field Type selection, all the available Field Name gets generated.
4. Next, choose the Masking Style:
a. Replace: This option will replace the selected field name with the character you enter in the Masking Character field.
b. Prefix: This option will add the character before the selected field name.
c. Suffix: This option will add the character after the selected field name.
7. In the Scheduling procedure, the following options are available:
a. Daily: the process is run every day at the scheduled time.
b. Weekly: the process is run weekly on the scheduled day and time.
c. No schedule: the process will only be saved, and you can run it when required.
8. Click Save button.
9. Click Run button to run the job.

