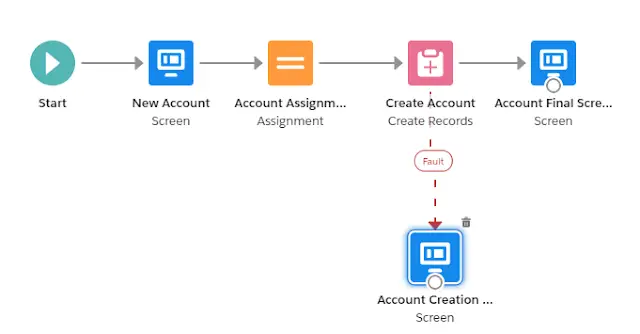
Sample Flow:
1. Go to Flows in Setup.
2. Click New Flow.
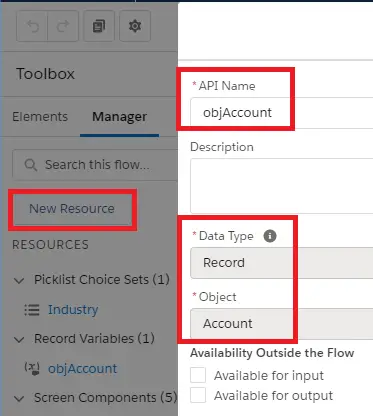
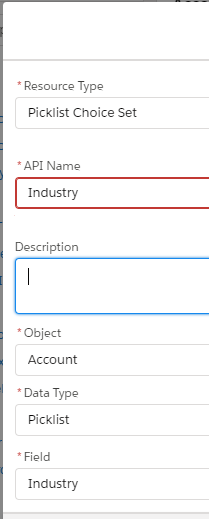
3. Go to Manager and click New Resource. Enter a name, select Record as Data Type and select the object.
4. Drag and Drop Screen element.
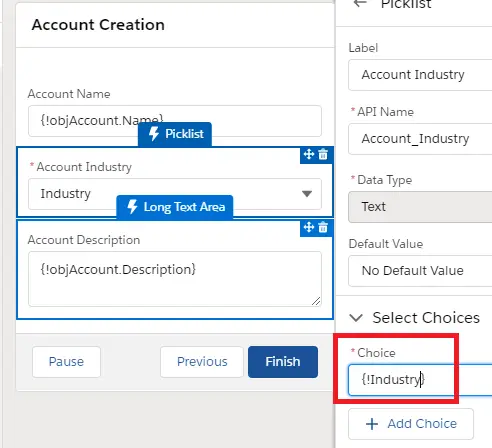
5. Add Text box, Picklist and Long Text Area as below and configure it.
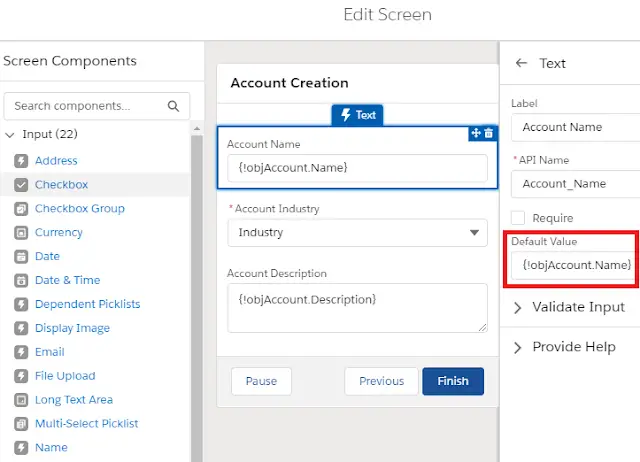
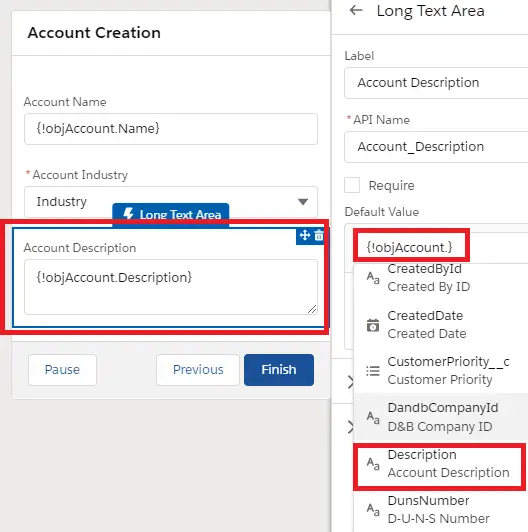
6. For Industry picklist, select Industry picklist from the Account object in the choice.
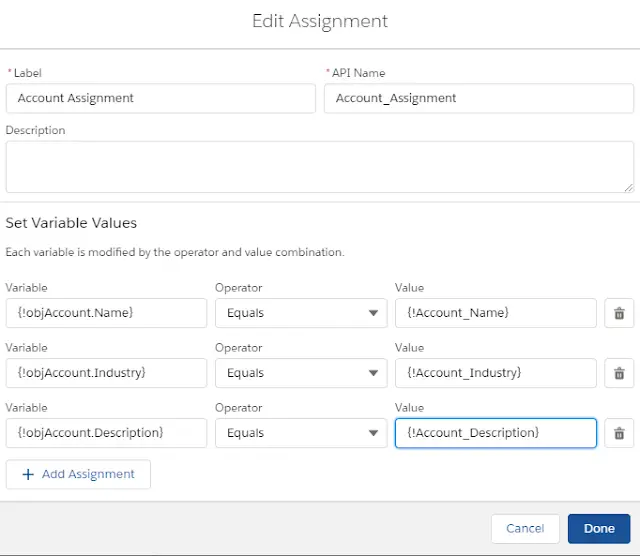
7. Set the Assignment element like below.
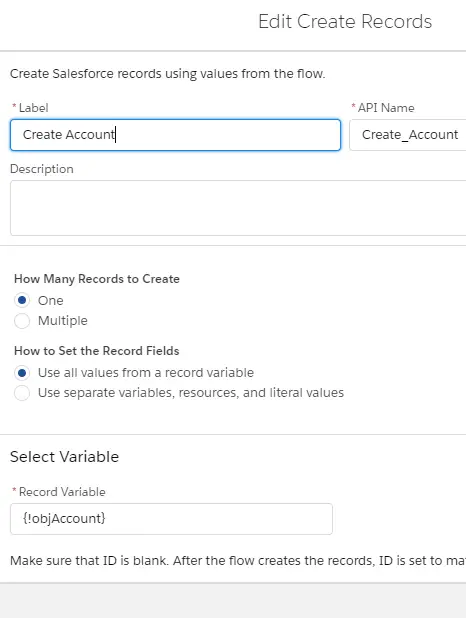
8. Set the Create Records element like below.
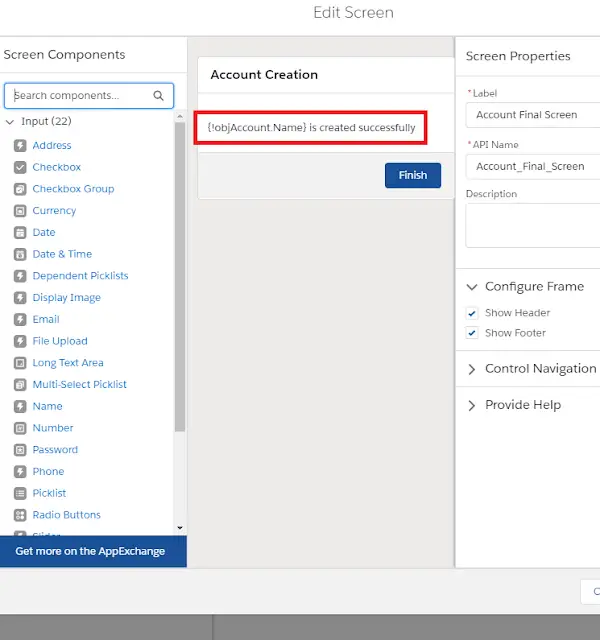
9. Set the success screen as below.
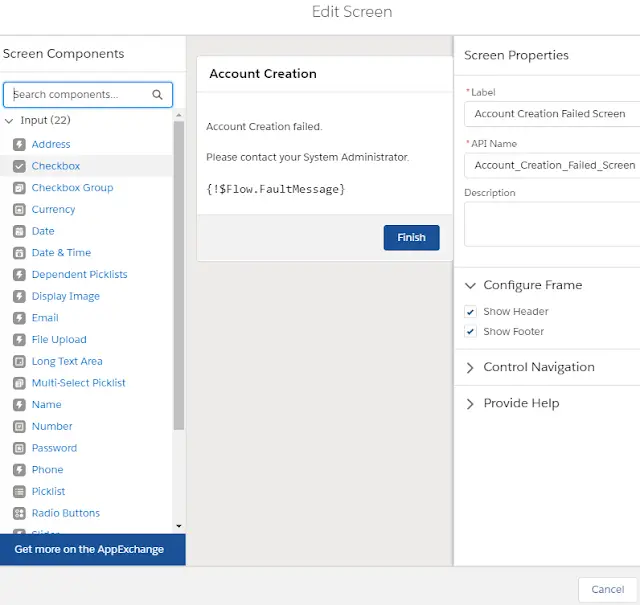
10. Set the fault screen as below.