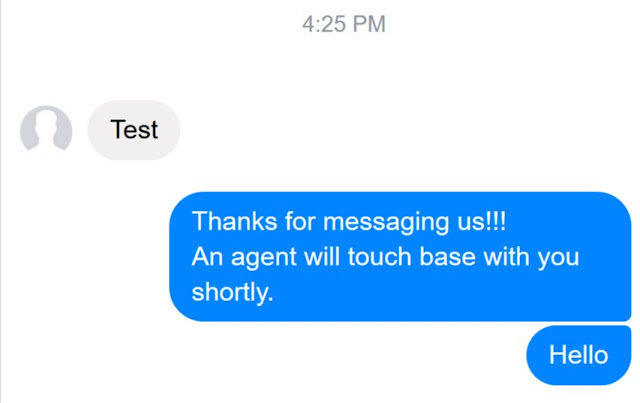
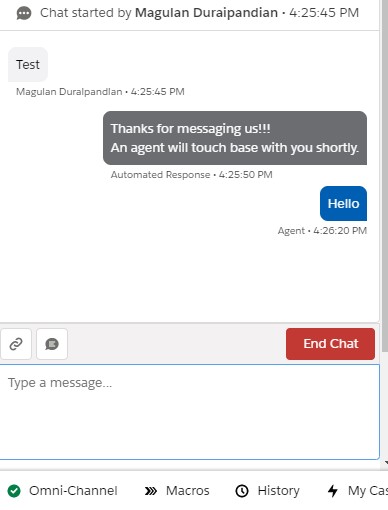
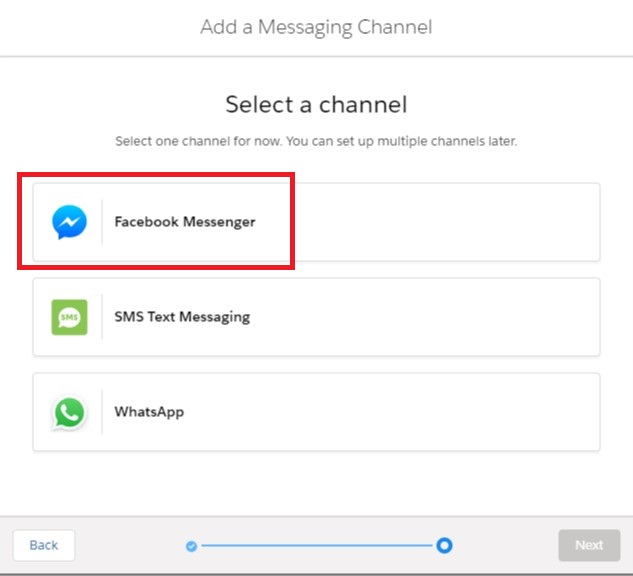
To start handling Facebook Messages from the customer in Salesforce, use the following steps for Configuring Facebook Channel in the Setup.
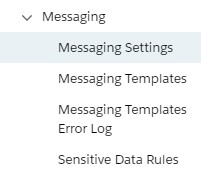
1. Go to Messaging Settings.
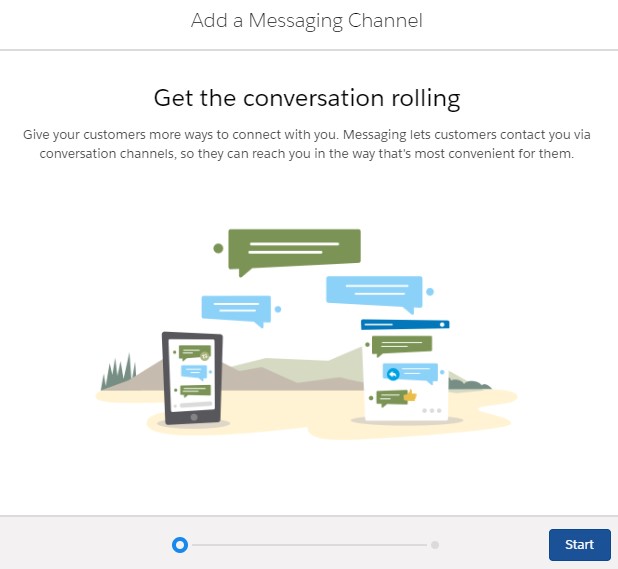
2. Click New Channel button.
3. Click Start button.
4. Select Facebook Messenger. Authenticate using your Facebook credentials.
5. Select the Page from the pages available in your Facebook account.
6. Select “Create a new queue”, if you would like to create a new Queue or select “Stop the setup flow and manually connect to an existing queue” to use a existing queue.
7. Enter the Priority.
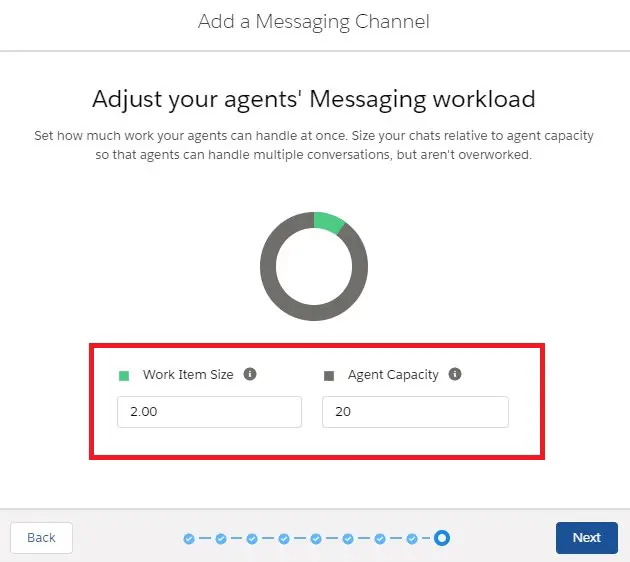
8. Select Work Item Size and Agent Capacity.
9. Click Done to complete the setup.
10. Open Digital Engagement app and select Available – Messaging in the Omni-Channel.