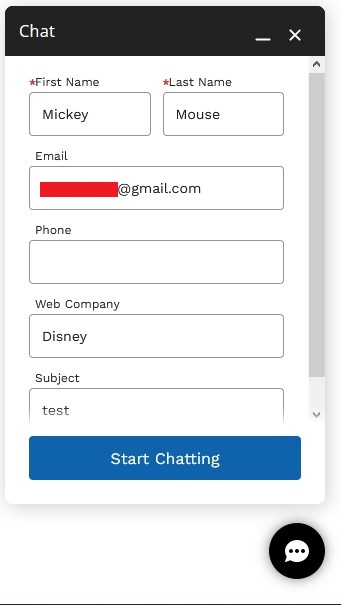
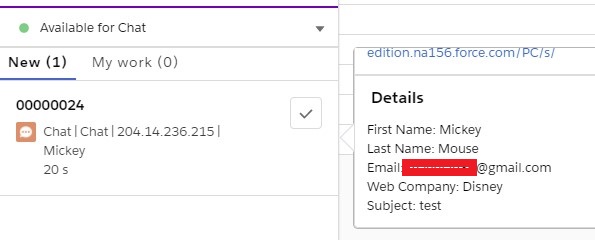
1. Create an Apex Class to fetch currently logged in user details.
public class PreChatValuesController {

    @AuraEnabled
    public static user fetchUserDetails() {

       User u = [ SELECT Id, FirstName, LastName, Email, Phone, Account.Name
                 FROM User
                 WHERE Id =: userInfo.getUserId() ];
       return u;

    }

}
2. Create a Lightning Component.
HTML:
<aura:component implements="forceCommunity:availableForAllPageTypes" access="global" controller="PreChatValuesController">
    <aura:handler name="init" value="this" action="{!c.doInit}"/>
    <aura:attribute name="userInfo" type="user"/>
    <div id="chatFName" hidden="true">
        {!v.userInfo.FirstName}
    </div>
    <div id="chatLName" hidden="true">
        {!v.userInfo.LastName}
    </div>
    <div id="chatEmail" hidden="true">
        {!v.userInfo.Email}
    </div>
    <div id="chatPhone" hidden="true">
        {!v.userInfo.Phone}
    </div>
    <div id="chatAccNm" hidden="true">
        {!v.userInfo.Account.Name}
    </div>
</aura:component>
JavaScript:
({

    doInit : function(component, event, helper) {

    var action = component.get( "c.fetchUserDetails" );
        action.setCallback( this, function( response ) {
            var state = response.getState();
            if ( state === "SUCCESS" ) {

                var storeResponse = response.getReturnValue();
                component.set( "v.userInfo", storeResponse );

            }
        });
        $A.enqueueAction( action );

    }

})
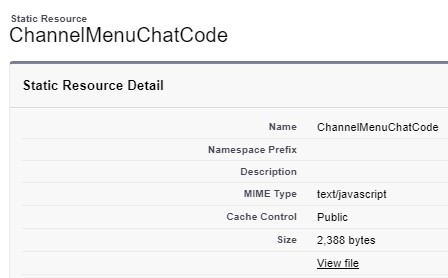
3. Create a Static Resource with the below JavaScript code. The file should have .js extension.
Note:
Here Chat is the Menu Item name in the Channel Menu.
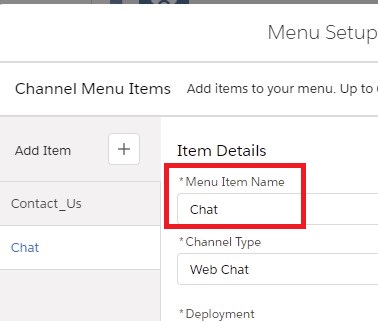
window._snapinsSnippetSettingsFile = ( function() {

    console.log( "Code from Static Resource loaded" );
    let chatFName = document.getElementById( "chatFName" ).innerHTML;
    let chatLName = document.getElementById( "chatLName" ).innerHTML;
    let chatEmail = document.getElementById( "chatEmail" ).innerHTML;
    let chatPhone = document.getElementById( "chatPhone" ).innerHTML;
    let chatAccNm = document.getElementById( "chatAccNm" ).innerHTML;
    console.log(
        'User details from Static Resource are ' +
        'FirstName - ' + chatFName +
        ', LastName - ' + chatLName +
        ', Email - ' + chatEmail +
        ', Phone - ' + chatPhone +
        ', Account Name - ' + chatAccNm
    );
    embedded_svc.menu.snippetSettingsFile = {
        Chat: {
            settings: {
                /* Pre-populating pre-chat form */
                prepopulatedPrechatFields: { "FirstName" : chatFName, "LastName" : chatLName, "Email" : chatEmail, "Phone" : chatPhone,
                                             "SuppliedCompany" : chatAccNm },
                /* Linking Chat to Account, Contact and Case */
                extraPrechatInfo : [ {
                    "entityName":"Contact",
                    "showOnCreate":true,
                    "linkToEntityName":"Case",
                    "linkToEntityField":"ContactId",
                    "saveToTranscript":"ContactId",
                    "entityFieldMaps": [ {
                        "isExactMatch":true,
                        "fieldName":"FirstName",
                        "doCreate":true,
                        "doFind":true,
                        "label":"First Name"
                    }, {
                        "isExactMatch":true,
                        "fieldName":"LastName",
                        "doCreate":true,
                        "doFind":true,
                        "label":"Last Name"
                    }, {
                        "isExactMatch":true,
                        "fieldName":"Email",
                        "doCreate":true,
                        "doFind":true,
                        "label":"Email"
                    }]
                }, {
                    "entityName":"Case",
                    "showOnCreate":true,
                    "saveToTranscript":"CaseId",
                    "entityFieldMaps": [ {
                        "isExactMatch":false,
                        "fieldName":"Subject",
                        "doCreate":true,
                        "doFind":false,
                        "label":"Subject"
                      } ]
                }, {
                    "entityName":"Account",
                    "showOnCreate":true,
                    "linkToEntityName":"Case",
                    "linkToEntityField":"AccountId",
                    "saveToTranscript":"AccountId",
                    "entityFieldMaps": [ {
                        "isExactMatch":true,
                        "fieldName":"Name",
                        "doCreate":false,
                        "doFind":true,
                        "label":"Web Company"
                      } ]
                } ]
            }
        }
    };

}

)();
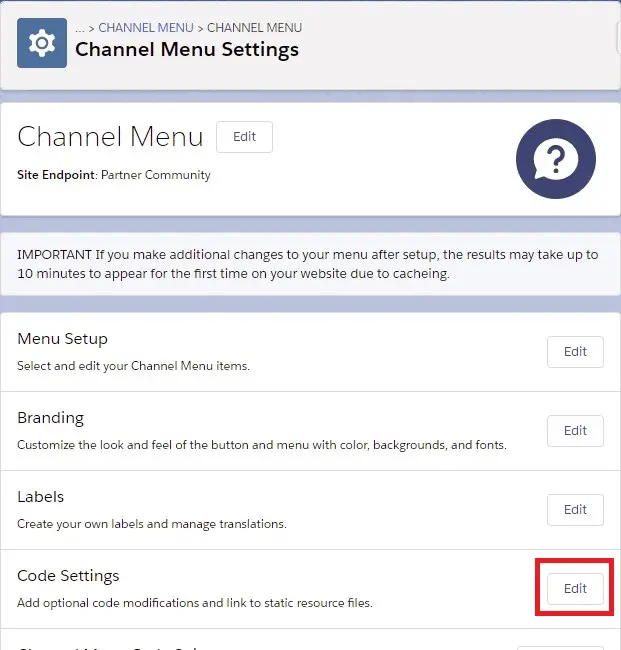
4. Go to Channel Menu and edit the Code Settings.
5. Add the Static Resource added in Step 3. Get the name.

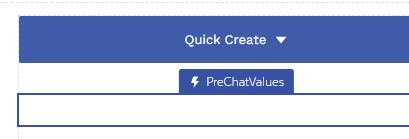
6. Add the Lightning component created in the Experience Builder.
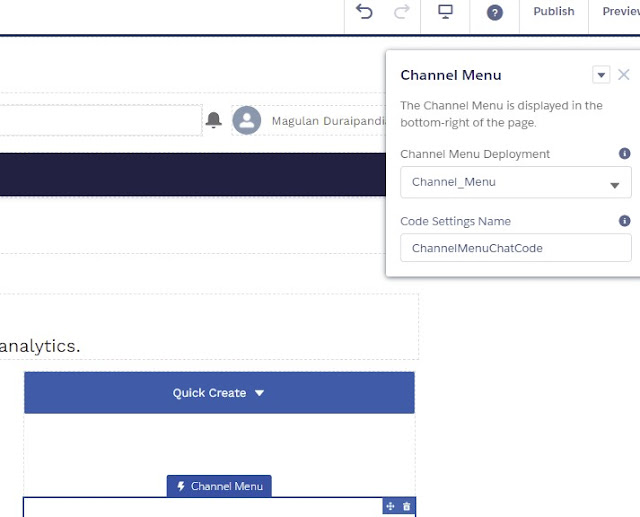
7. Add the Channel Menu Component in the Experience Builder. Use the name from Step 5.
Output:
