Visualforce components can be used to customize the appearance and behavior of chat windows. Check the below example.
Visualforce Page:
<apex:page showHeader="false">
    <style>
        body { overflow: hidden; width: 100%; height: 100%; padding: 0; margin: 0 }
        #waitingMessage {
            height: 50%;
            width: 50%;
            vertical-align: middle;
            text-align: center;
            display: none;
        }
        #liveAgentClientChat.liveAgentStateWaiting #waitingMessage { display: table; }
        #liveAgentSaveButton, #liveAgentEndButton { z-index: 2; }
        .liveAgentChatInput {
            height: 25px;
            border-width: 1px;
            border-style: solid;
            border-color: #000;
            padding: 2px 0 2px 4px;
            background: #fff;
            display: block;
            width: 99%;
        }
        .liveAgentSendButton {
            display: block;
            width: 60px;
            height: 31px;
            padding: 0 0 3px;
            position: absolute;
            top: 0;
            right: -67px;
        }
        #liveAgentChatLog {
            width: auto;
            height: auto;
            top: 0px;
            position: absolute;
            overflow-y: auto;
            left: 0;
            right: 0;
            bottom: 0;
        }
    </style>
    <div style="top: 0; left: 0; right: 0; bottom: 0; position: absolute;">
        <liveAgent:clientChat >
        <liveAgent:clientChatSaveButton />
        <liveAgent:clientChatEndButton />
        <div style="top: 25px; left: 5px; right: 5px; bottom: 5px; position: absolute; z-index:0;">
            <liveAgent:clientChatAlertMessage />
            <liveAgent:clientChatStatusMessage />
            <table id="waitingMessage" cellpadding="0" cellspacing="0">
                <tr>
                    <td colspan="2">
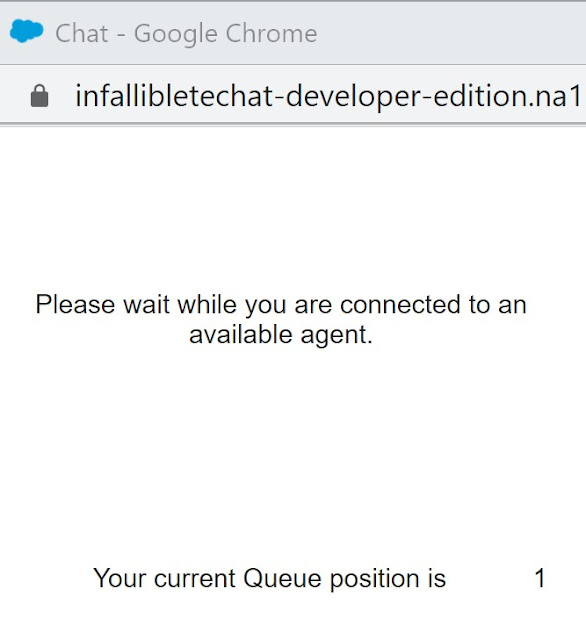
                        Please wait while you are connected to an available agent.
                    </td>
                </tr>
                <tr>
                    <td>Your current Queue position is</td>
                    <td><liveAgent:clientChatQueuePosition /></td>
                </tr>
            </table>
            <div style="top: 0; right: 0; bottom: 41px; left: 0; padding: 0; position: absolute;word-wrap: break-word; z-index: 0;">
                <liveAgent:clientChatLog />
            </div>
            <div style="position: absolute; height: auto; right: 0; bottom: 0; left: 0; margin-right:67px;">
                <liveagent:clientChatInput /><liveAgent:clientChatSendButton />
            </div>
        </div>
        </liveAgent:clientChat>
    </div>
</apex:page>
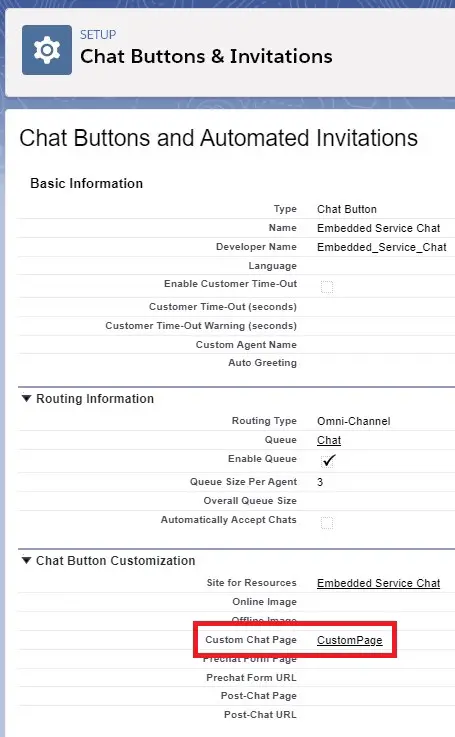
Use the Visualforce page in the Custom Chat Page in Chat Button.

Output:
