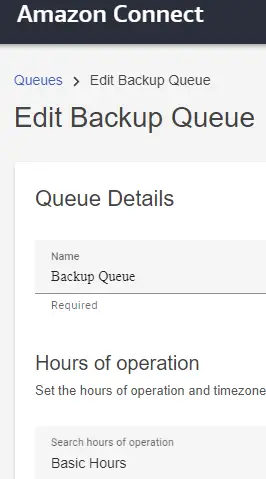
1. Create a Queue in Amazon Connect.
2. Create Quick Connect in Amazon Connect for the Queue.
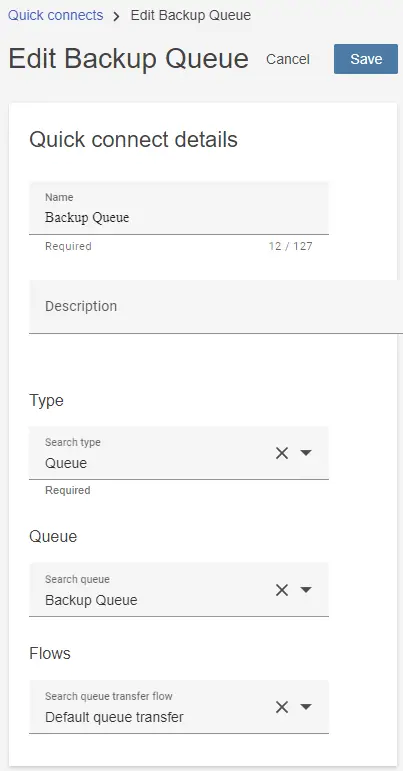
3. Add the Quick Connect in the Amazon Connect Queue’s Quick Connects.

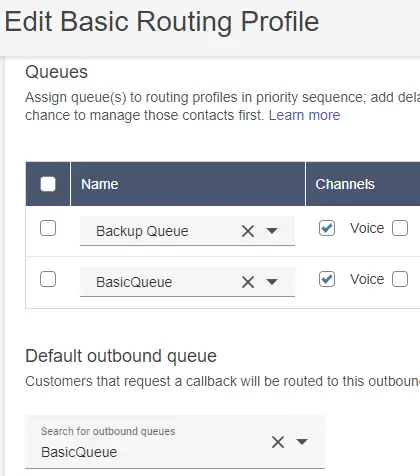
4. Add the Queue in the Amazon Connect Routing Profile.
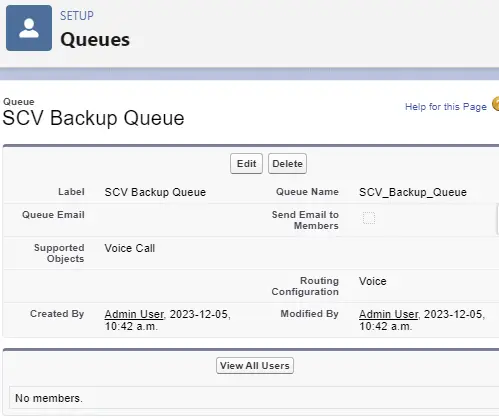
5. Create the Queue in Salesforce.
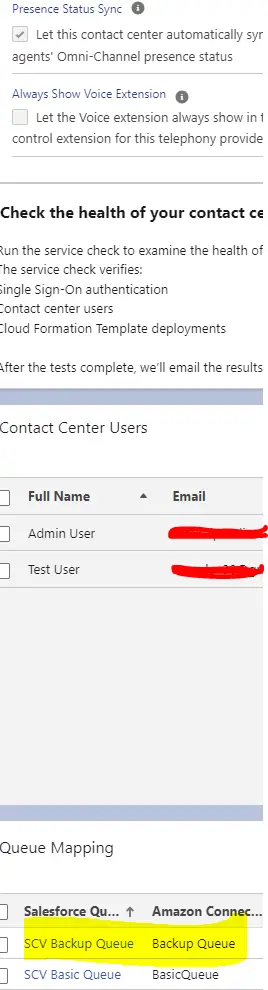
6. Do the Queue Mapping on the Contact Center Page.
Output: