Using Salesforce Form Messaging Component, we can create records.
To create Salesforce Form Messaging Component, use “Form” as the Message Type.
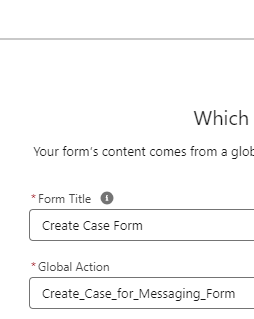
1. Create a Global Action with “Action Type” as “Create a Record”. In this Blog Post, I have used Case object in the Global Action.
2. Create the Salesforce Form Messaging Component. Select the Global Action created in Step 1.
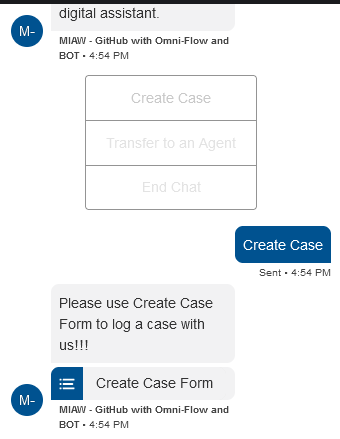
3. You can invoke the Form from Einstein BOT or Agents can send the form when they are on an Active Messaging Session.
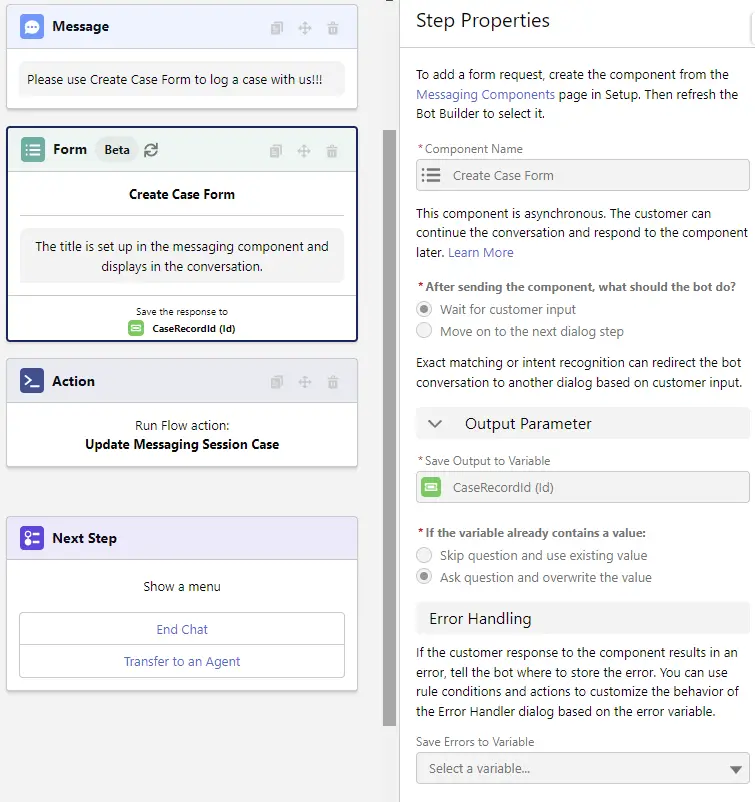
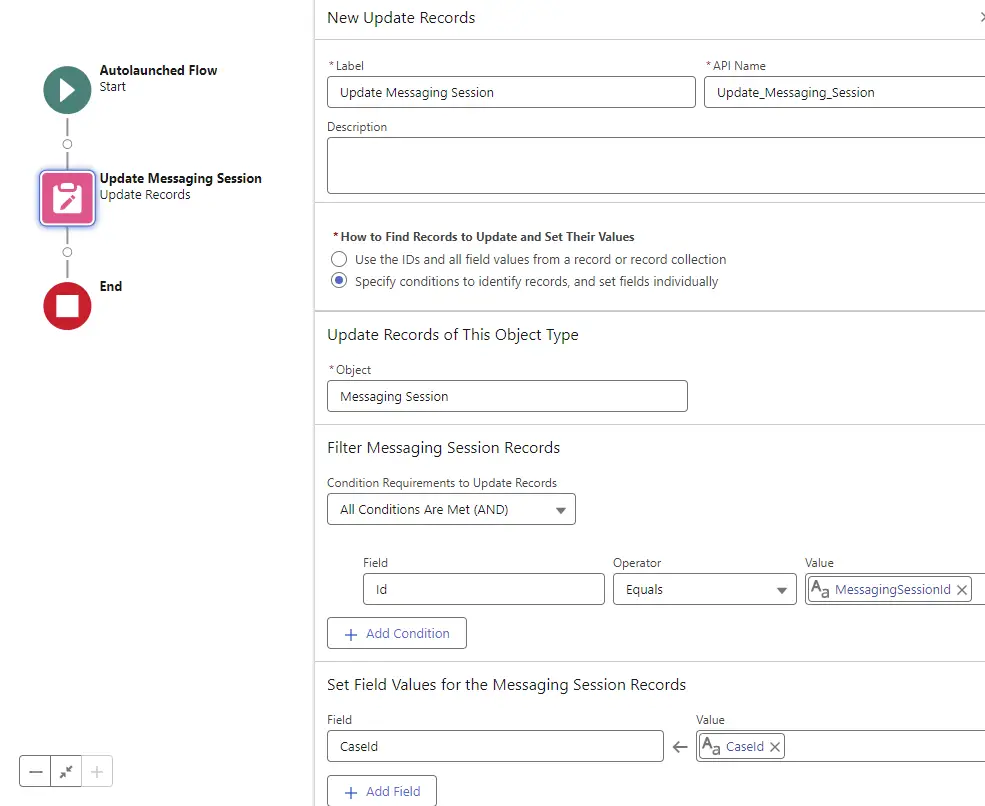
We can use Id variable to store the created record Id. In the above BOT Dialog, I have used a Flow to update the Messaging Session’s Case field.
Output:
Once the form is accessed, users will be able to enter value for all the fields that were selected on the Global Action layout.
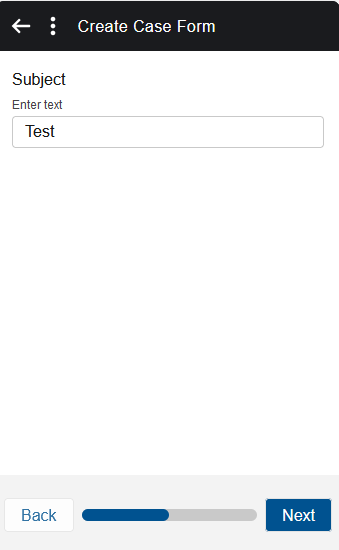
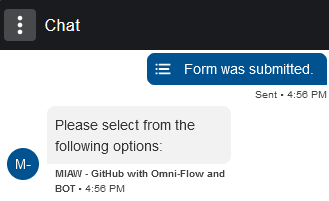
Once the form is submitted successfully, users will see a message “Form was submitted.” on the widget.